Look, we need to stop pretending that you need a $2,000 espresso machine and a degree in chemistry just to figure out how to make coffee at home. I spent my entire twenties chasing that high—buying every shiny gadget on the market, thinking the gear would fix my morning fog—only to realize I was just creating more friction in my routine. Most of the “expert” advice out there is designed to sell you more hardware you don’t need, turning a simple ritual into a stressful, over-engineered chore that feels more like work than a way to start your day.
I’m not here to turn your kitchen into a laboratory or blow your monthly budget on boutique beans. My goal is to show you how to build a reliable system that delivers a great cup every single morning without the headache. We’re going to strip away the pretension and focus on the few variables that actually matter: water, heat, and timing. I’ll give you the straightforward, no-nonsense setup that works for real people with real schedules, so you can stop wrestling with your brewer and start actually enjoying your caffeine.
Table of Contents
Essential Coffee Brewing Equipment for Beginners
Look, you don’t need a $2,000 espresso machine sitting on your counter to get a decent cup. In fact, for most people starting out, that’s just a massive, expensive way to create more friction in your morning routine. If you’re looking for the right coffee brewing equipment for beginners, my advice is to keep it lean. Start with a reliable burr grinder and a simple manual brewer. The grinder is actually more important than the brewer itself; if you aren’t using freshly ground coffee beans, you’re essentially fighting a losing battle against stale flavors before you even start.
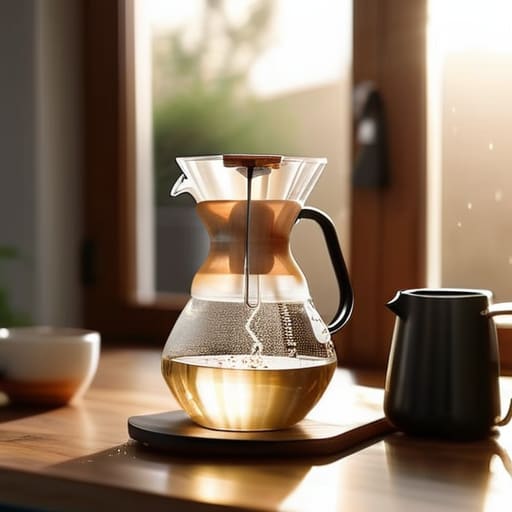
If you want to keep things low-maintenance, a French press is your best friend. It’s rugged, easy to clean, and hard to mess up. However, if you find yourself craving something cleaner and more nuanced, I’d suggest looking into a basic pour over coffee technique. It requires a bit more attention to detail—specifically monitoring your water temperature—but the payoff in terms of clarity is worth the extra thirty seconds of effort. The goal here isn’t to turn your kitchen into a laboratory; it’s about selecting a few reliable tools that actually improve your coffee flavor profile without turning your morning into a chore.
The Magic of Using Freshly Ground Coffee Beans
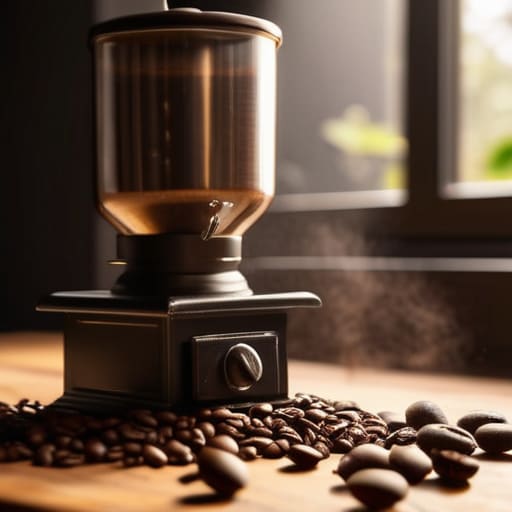
Look, I know the temptation to grab a pre-ground bag from the supermarket is real. It’s convenient, it’s cheap, and it fits perfectly into a “low-friction” lifestyle. But if you’re serious about improving coffee flavor profile without spending a fortune on fancy gadgets, this is the one area where you can’t cut corners. The moment those beans are ground, they start oxidizing. You’re essentially watching the soul of your coffee evaporate into the air. By the time that pre-ground bag hits your mug, most of the aromatic oils—the stuff that actually makes it taste good—are already gone.
If you want to stop drinking bitter, flat sludge, you need to invest in a decent burr grinder and start using freshly ground coffee beans. It’s a small change in your morning routine, but the difference is night and day. When you grind right before you brew, you’re capturing those volatile compounds that provide the brightness and complexity you’d usually only find in a high-end cafe. Whether you’re leaning into a pour over coffee technique or just making a standard drip, the freshness of the grind is the single biggest lever you have to control the output. It’s not about being a snob; it’s just about getting better results from the ingredients you’ve already bought.
Five Small Tweaks to Stop Ruining Your Morning Cup
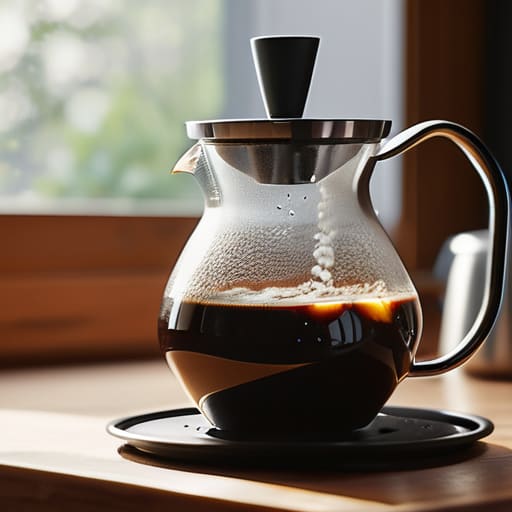
- Watch your water temperature. If you’re pouring boiling water straight from the kettle onto your grounds, you’re likely scorching them and creating that bitter, ashy taste. Let the kettle sit for about a minute after it hits a boil, or aim for roughly 200°F (93°C). It’s a small pause that makes a massive difference in flavor.
- Use a scale, not a spoon. Measuring coffee by “scoops” is a recipe for inconsistency. One day your coffee is weak, the next it’s battery acid, all because your scoops aren’t precise. Get a cheap digital kitchen scale and stick to a weight-based ratio. It removes the guesswork and ensures your coffee tastes the same every single morning.
- Clean your gear like you actually care about the taste. Old coffee oils build up in your carafe, your filter basket, and your grinder, eventually turning rancid. If you aren’t rinsing your equipment after every use, you’re essentially brewing fresh coffee through a layer of old, bitter sludge.
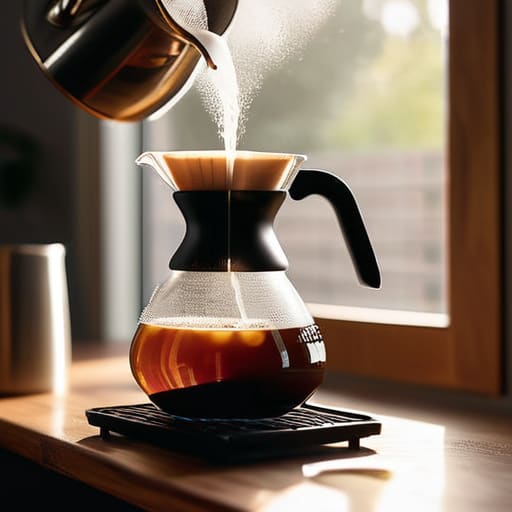
- Master the “bloom.” When you first start brewing, pour just enough water to saturate the grounds and then stop. Wait about 30 seconds. You’ll see the coffee bubble and swell—that’s the CO2 escaping. If you skip this, the gas gets in the way of the water, and you end up with an uneven, underwhelming extraction.
- Store your beans properly (and keep them out of the freezer). Coffee is sensitive to light, heat, and moisture. Keep your beans in an airtight container in a cool, dark pantry. Don’t be tempted by that “freshness” hack of putting them in the freezer; the moisture fluctuations in a home freezer can actually ruin the bean structure faster than they help.
## The Philosophy of the Pour
“Making great coffee at home isn’t about mastering some complex chemistry degree; it’s about building a simple, reliable system that rewards you with a better morning every single time.”
Nathaniel 'Nate' Brooks
Stop Overthinking and Start Brewing
Look, we’ve covered a lot of ground here, from picking the right gear to why you shouldn’t settle for pre-ground dust. At the end of the day, making great coffee at home isn’t about owning a $2,000 espresso machine or mastering every niche chemistry variable known to man. It’s about the basics: getting a reliable brewer, investing in quality beans, and—most importantly—grinding them right before you hit the water. If you get those three pillars right, you’ve already bypassed 90% of the mistakes that turn a morning ritual into a chore. It’s about building a system that works for your schedule, not fighting against it.
My advice? Don’t let the fear of a “sub-optimal” brew keep you stuck in a cycle of expensive, mediocre cafe runs. Start with one decent setup, find a bean you actually enjoy, and let the process become a part of your morning flow. You don’t need to be a professional barista to enjoy a better cup; you just need to remove the friction between you and a good caffeine kick. Life is messy enough as it is—your morning coffee shouldn’t be. Once you dial in your routine, you’ll realize that the best part isn’t just the taste, but the quiet moment of control you claim before the rest of the world starts demanding your attention.
Frequently Asked Questions
How much should I actually spend on a grinder versus a decent brewer?
If you’re looking to optimize your budget, here’s the hard truth: prioritize the grinder. I’ve seen people drop $300 on a high-end pour-over setup only to use pre-ground, stale beans, and it’s a total waste of capital. A decent, consistent burr grinder is the backbone of your system. Spend 60-70% of your budget there. You can make an incredible cup with a cheap French press, but you can’t fix bad grounds with an expensive machine.
Is there a specific water temperature I need to hit, or does tap water work fine?
Look, if you’re using tap water that tastes like a swimming pool, your coffee is going to taste like a swimming pool. Use filtered water. As for temperature, you don’t need a lab-grade thermometer, but avoid boiling water—it scorches the grounds and leaves you with a bitter mess. Aim for just off the boil, around 195°F to 205°F. If you don’t have a thermometer, let the kettle sit for a minute after it whistles.
How long do those expensive beans actually stay fresh once the bag is open?
Look, I’m not going to give you some arbitrary date, but here’s the reality: once that seal is broken, the clock is ticking. For the best flavor, you’ve got about two weeks. After that, you’re mostly just drinking expensive, stale water. If you store them in a cool, dark place in an airtight container—and please, skip the fridge—you might stretch it to a month, but the nuance will be gone. Use it or lose it.
How do I know if I'm using the right ratio of coffee to water so it doesn't taste like battery acid?
The “battery acid” taste usually means you’re under-extracting—basically, you didn’t get enough flavor out of the grounds. To fix this, stop eyeballing it. Use a digital scale and aim for a 1:16 ratio. That’s 1 gram of coffee for every 16 grams of water. It sounds nerdy, but once you dial in that baseline, you can tweak it by a few grams until the strength feels exactly right for you.