I spent way too many years thinking that learning how to bake bread at home required a degree in chemistry and a kitchen full of expensive, specialized gear. I used to stare at these hyper-detailed recipes that demanded specific hydration percentages and professional-grade proofing baskets, feeling like I was trying to debug a broken server instead of just making lunch. It’s a ridiculous barrier to entry that turns a simple, nourishing task into a source of unnecessary mental friction.
I’m not here to sell you on a lifestyle overhaul or a dozen new gadgets you don’t need. My goal is to strip away the fluff and give you a streamlined, systematic approach to getting great loaves without the headache. I’ll show you how to master the basics using what you already have in your pantry, focusing on the small, repeatable adjustments that actually matter. We aren’t aiming for a Michelin-star bakery; we’re just aiming to get you a warm, decent loaf of bread with minimal wasted effort.
Table of Contents
Essential Bread Baking Tools for a Streamlined Kitchen
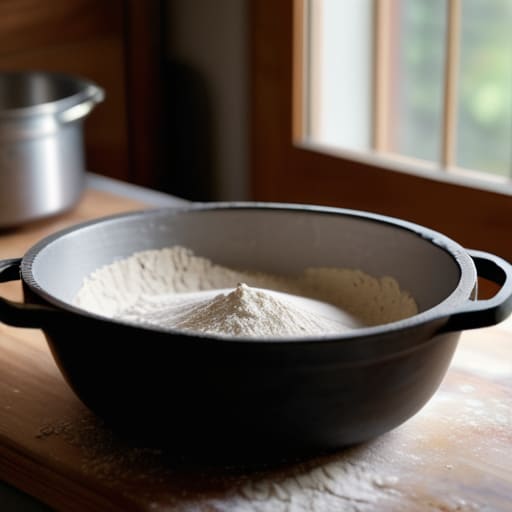
Look, you don’t need a professional-grade bakery setup to get decent results, and I’m a big believer in not buying gear just for the sake of having it. When it comes to essential bread baking tools, I usually tell people to start with the basics: a digital scale, a large mixing bowl, and a decent Dutch oven. Skip the measuring cups; they’re imprecise and add unnecessary friction to your workflow. A scale ensures your hydration levels are consistent every single time, which is the real secret to mastering the yeast fermentation process without the guesswork.
If you’re looking to move toward more artisan bread at home, that’s when you might want to invest in a bench scraper and a proofing basket (or banneton). The scraper is a game-changer for keeping your workspace clean, and it makes handling sticky dough much less of a headache. You don’t need a fancy stand mixer either—unless you’re planning on making massive batches—because manual kneading dough techniques are actually a great way to feel the texture and understand how the gluten is developing. Just keep it simple, buy quality over quantity, and don’t let a lack of gadgets stop you from starting.
Bread Making for Beginners Without the Chaos
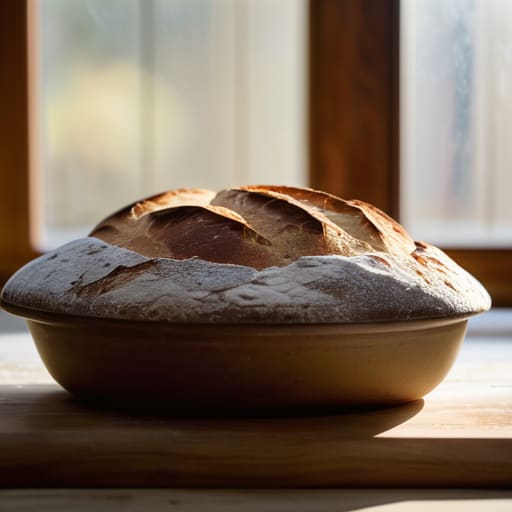
If you’re coming at this thinking you need to master complex kneading dough techniques on day one, stop right there. You’ll just end up with flour-covered counters and a headache. The secret to successful bread making for beginners isn’t about technical perfection; it’s about managing your expectations and understanding the variables. I used to get caught up in the chemistry of it all, trying to time every single movement, but I realized that bread is surprisingly forgiving if you just respect the process.
The real heavy lifting actually happens during the yeast fermentation process. This is where the magic—and the patience—comes in. Instead of hovering over your bowl like a hawk, set a timer, put the dough in a draft-free spot, and go do something else. Whether you’re working on a spreadsheet or cleaning your synth, let the biology do its job. If you try to rush the rise, you’ll end up with a dense, heavy brick. My best proofing bread dough tips usually boil down to one thing: trust the dough. If it looks like it needs more time, give it more time. Don’t fight the clock; just let the system work.
Five Ways to Stop Overcomplicating Your Dough
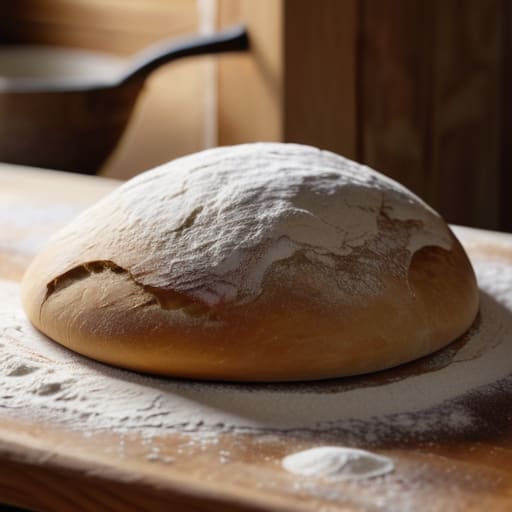
- Buy a digital scale and ditch the measuring cups. Flour is fickle; a “cup” can vary by twenty grams depending on how hard you pack it, but grams don’t lie. If you want consistent results without the guesswork, weigh your ingredients.
- Don’t let the “perfect” recipe ruin your afternoon. If your dough feels a little too sticky or a little too dry, adjust it slightly. Baking is just a series of small, real-time calibrations, not a rigid chemistry exam.
- Master the art of the “autolyse.” Basically, just mix your flour and water and let it sit for thirty minutes before adding salt or yeast. It does half the kneading work for you by letting the gluten develop itself while you go grab a coffee.
- Stop checking the oven every five minutes. Every time you crack that door, you’re dumping out the heat that’s actually doing the work. Trust your timer, trust your process, and let the oven do its job.
- Embrace the mess. You’re going to get flour on the counter and dough on your hands. Don’t let a messy workspace become a reason to quit; just scrape it into a bowl, wipe it down when you’re done, and keep moving.
The Philosophy of the Loaf
“Forget the fancy French techniques and the professional-grade ovens; baking bread isn’t about mastering a complex craft, it’s about building a simple, repeatable system that turns flour and water into something real.”
Nathaniel 'Nate' Brooks
Final Thoughts on Your Bread Journey
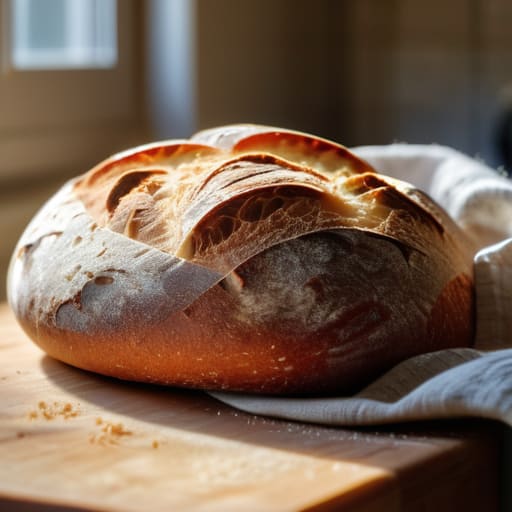
At the end of the day, baking bread isn’t about mastering a complex chemistry experiment or owning a kitchen full of expensive gadgets. It’s about having the right, minimal set of tools and a process that doesn’t turn your Saturday morning into a stressful mess. We’ve covered how to pick your gear, how to keep the workflow simple, and how to avoid the common pitfalls that lead to kitchen burnout. Remember, the goal isn’t to produce a professional bakery-grade loaf every single time; it’s about eliminating the friction of the process so you can actually enjoy the result. If the crust is a little uneven or the crumb isn’t textbook perfect, it still doesn’t matter. You made it yourself, and that’s a win.
Once you get the rhythm down, you’ll realize that bread making is one of those rare, tactile ways to unplug from the digital noise. There is something deeply grounding about working with flour, water, and salt—it’s a system you can actually control in a world that often feels chaotic. Don’t get caught up in the pursuit of perfection. Just get your water temp right, keep your workspace organized, and start baking. The more you do it, the more the intuition takes over, and eventually, you’ll find that the best part isn’t even the bread itself, but the peace of mind that comes from a well-executed routine.
Frequently Asked Questions
Do I really need a stand mixer, or can I just get through this with my hands?
Look, if you’re asking this, you’re likely trying to avoid cluttering your counters with another gadget. Honestly? You don’t need a stand mixer. I’ve spent enough time optimizing my kitchen to know that a heavy-duty bowl and your own two hands are more than enough to get the job done. It’s a bit more of a workout, sure, but it keeps your setup minimal and your overhead low. Skip the machine; just embrace the dough.
How do I know if my kitchen is too cold for the dough to actually rise?
The easiest way to tell? Watch the clock, not just the dough. If your recipe says it should double in size in an hour and you’re still looking at a flat disc after ninety minutes, your kitchen is definitely too cold. Yeast is a living thing—it needs warmth to thrive. If it’s stalling, move your bowl to the oven with just the light turned on. It creates a perfect, low-heat microclimate without overheating the dough.
What’s the easiest way to tell if my bread is actually done without cutting into a steaming hot loaf?
The easiest way? Give the bottom a good, firm tap with your knuckles. You’re listening for a hollow sound, like you’re tapping on a drum. If it sounds thuddy or dense, it’s still gummy in the middle and needs more time. Also, if you can resist the urge to slice it immediately, let it cool on a wire rack for at least an hour. Cutting it early kills the texture and ruins the work you just did.
Can I just use whatever flour I have in the pantry, or is the expensive stuff actually worth the hype?
Look, I’m all for optimizing, but don’t go blowing your budget on fancy artisanal bags just yet. If you’ve got standard all-purpose flour in the pantry, use it. It’ll work. The “expensive stuff” usually just means higher protein content, which helps with structure, but you can achieve that same result with basic flour if you just let your dough rest longer. Don’t let a lack of premium ingredients stop you from starting.