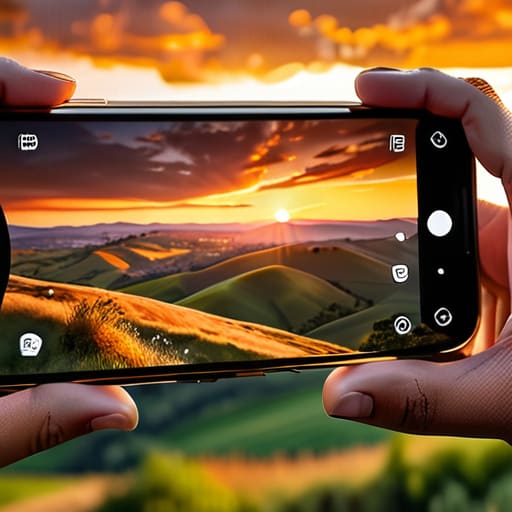
I used to think that if I wanted to capture a moment that actually felt real, I needed to drop two grand on a mirrorless camera and a bag of heavy glass lenses. It’s a total lie designed to separate you from your paycheck. I spent years lugging around gear that felt like a chore, only to realize I was missing the actual moment because I was too busy fiddling with manual ISO settings. The truth is, if you want to learn how to take better phone photos, you don’t need a studio setup or a degree in digital imaging; you just need to stop fighting the device in your pocket and start working with its logic.
I’m not here to give you a lecture on the physics of light or suggest some bloated, subscription-based editing app that eats your storage. Instead, I’m going to show you the small, actionable adjustments—the kind of system optimizations I use in my professional life—to clean up your shots and make them look intentional. We’re going to focus on lighting, composition, and a few hidden settings that actually matter. No fluff, no hype, just a straightforward blueprint to help you capture the good stuff without the friction.
Table of Contents
Mastering the Best Mobile Camera Settings for Instant Clarity
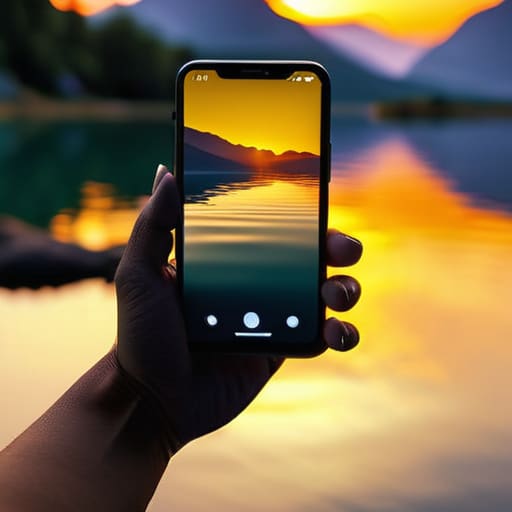
Look, you don’t need a $2,000 DSLR to get a shot that actually looks intentional. Most people just point, shoot, and pray, but if you want to start improving mobile image quality immediately, you need to stop letting the software make every single decision for you. Start by cleaning your lens—I know it sounds basic, but a quick wipe with your shirt removes that oily smudge that makes every photo look like a dream sequence. Once you’ve done that, tap your subject on the screen to lock the focus. This tells the sensor exactly what matters, preventing that awkward blur when you’re trying to capture something specific.
Next, let’s talk about the exposure slider. When you tap to focus, a little sun icon usually pops up next to the box; slide that down slightly to underexpose your shot. Modern sensors tend to overcompensate in bright light, which kills the texture in your subject. By pulling that slider down, you preserve the highlights and get much richer colors. If you’re dealing with tricky shadows, experimenting with these best mobile camera settings is far more effective than trying to fix a blown-out sky later during post-processing. It’s all about catching the data correctly the first time.
Smart Smartphone Lighting Techniques to Kill the Chaos
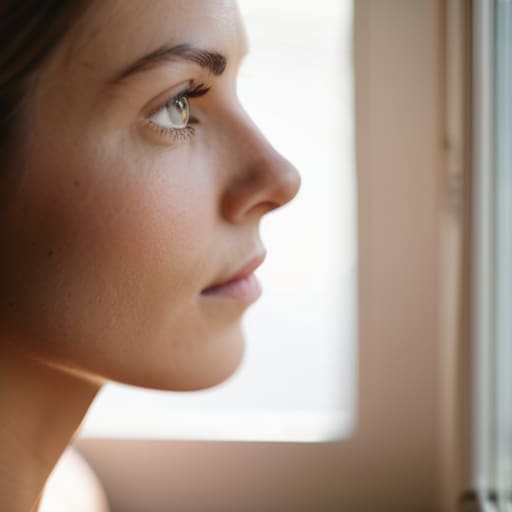
Look, you don’t need a $2,000 lighting kit to fix a muddy-looking shot. Most of the time, the “chaos” in a bad photo comes from harsh, direct light that washes out your subject or creates those ugly, deep shadows under people’s eyes. My rule of thumb is to hunt for diffused light. If you’re outdoors, find some light shade or wait for a cloud to pass over the sun; it acts like a giant, natural softbox. If you’re stuck inside, move your subject closer to a window. Natural side-lighting is one of the most effective smartphone lighting techniques for adding depth and texture without making everything look flat and clinical.
When you’re dealing with low-light scenarios, resist the urge to turn on your flash immediately. That tiny LED bulb is a blunt instrument—it flattens features and makes skin look oily. Instead, try to find a nearby lamp or even a shop window to catch some ambient glow. If you’re using smartphone portrait mode tips to get that creamy background blur, remember that the software relies heavily on light to distinguish your subject from the environment. If it’s too dark, the sensor will struggle, the edges will look jagged, and the whole effect falls apart. Aim for enough light to see the details, and let the software do the heavy lifting.
The Small Adjustments That Make a Massive Difference
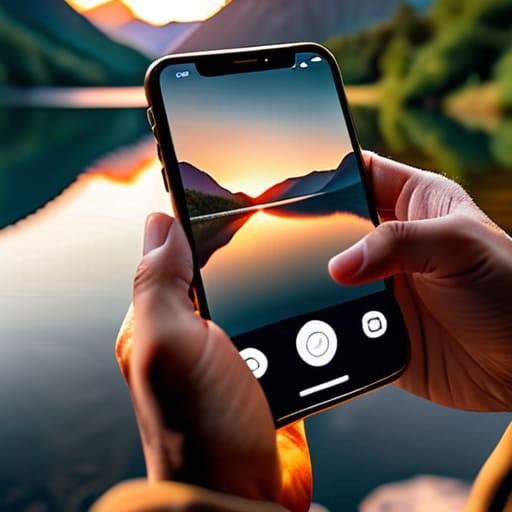
- Clean your lens. I know it sounds stupidly simple, but most of my “hazy” or “dreamy” looking shots were just because I had a fingerprint smudge on the glass. Give it a quick wipe with your shirt before you pull it out; it’s the fastest way to get instant clarity.
- Stop using digital zoom. If you pinch the screen to zoom in, you’re basically just stretching pixels and killing your resolution. If you can’t get close physically, just take the shot wide and crop it later in your editor. You’ll keep way more detail.
- Use the grid lines to fix your composition. Go into your camera settings and turn on the 3×3 grid. Instead of centering everything like a default setting, try placing your subject on one of those intersecting lines. It immediately makes the photo look intentional rather than accidental.
- Tap to lock your focus and exposure. Don’t just point and shoot. Tap the specific part of the screen you want sharp, then hold your finger down until you see the “AE/AF Lock” notification. Once it’s locked, you can slide your finger up or down to manually adjust the brightness before you hit the shutter.
- Get low to the ground. We spend our whole lives looking at the world from five or six feet up. If you want a photo to actually feel interesting, crouch down or even sit on the pavement. Changing your perspective by just a few feet can turn a boring snapshot into something that actually has some depth.
The Philosophy of the Shot
“You don’t need a $3,000 DSLR to capture something meaningful; you just need to stop letting your hardware dictate your vision and start using the tools you actually have in your pocket.”
Nathaniel 'Nate' Brooks
Stop Overthinking the Gear
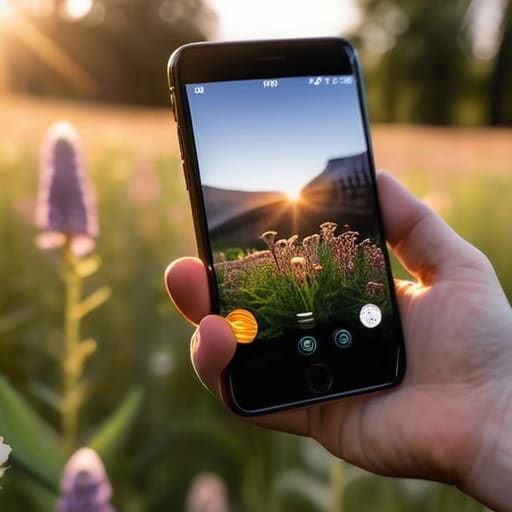
At the end of the day, getting better shots isn’t about buying the newest Pro Max model or carrying around a heavy DSLR. It’s about the small, intentional shifts in how you approach the moment. We’ve covered the essentials: dialing in your settings to stop the blur, mastering your lighting so you aren’t fighting shadows, and learning to see the world through a more structured lens. Once you stop letting your phone make all the decisions for you and start taking control of the technical basics, the quality of your images will jump almost instantly. It’s really just about eliminating the friction between what you see and what the sensor captures.
My advice? Don’t get caught up in the pursuit of the “perfect” shot. I’ve spent way too many hours tweaking spreadsheets and gear settings only to realize that the best memories usually happen when you aren’t staring at a screen. Use these tweaks to sharpen your skills, but don’t let the tech get in the way of the experience. The goal isn’t to become a professional photographer; it’s to ensure that when you look back at your digital library in five years, you actually remember how it felt rather than just seeing a grainy, poorly lit mess. Keep it simple, keep shooting, and just aim for better than yesterday.
Frequently Asked Questions
Do I actually need to pay for those expensive editing apps, or can I get the job done with free tools?
Look, I’m a big fan of optimization, but I’m also a big fan of not wasting money on things you don’t need. Short answer: No. You don’t need a monthly subscription to a pro-grade editing suite to make your photos pop. Most of the heavy lifting can be done with free tools like Snapseed or even the built-in editors on your phone. Save your cash for something better—like a decent brisket rub or a new synth component.
How do I stop my photos from looking blurry when I'm trying to capture something moving?
The blur happens because your shutter speed is too slow to “freeze” the action. To fix this, stop using Auto mode. Switch to Pro or Manual mode and crank up your shutter speed—aim for at least 1/500th of a second for moving subjects. It’ll make the image darker, so you might need to bump up your ISO or find more light, but it’ll kill that motion blur instantly.
Is there a way to take decent photos at night without a massive tripod or a flash that washes everything out?
Look, I get it. You want that moody, nighttime vibe, but the flash turns everyone into a ghost and a tripod is just too much gear to carry. My go-to is leaning into “Night Mode,” but here’s the trick: find a physical anchor. Lean your phone against a lamp, a trash can, or even a brick wall. That tiny bit of stability prevents the blur, letting the sensor actually do its job without the artificial glare.
When should I actually bother using Portrait Mode versus just sticking to the standard lens?
Look, Portrait Mode isn’t a magic wand; it’s a tool for specific scenarios. Use it when you want to isolate a subject—like a person or a single dish of food—and create that soft, blurred background (bokeh) that screams “intentional.” It’s great for depth. But if you’re shooting a landscape, a wide group shot, or something moving fast, stick to the standard lens. Portrait Mode can get messy with edges, and honestly, sometimes the natural clarity of the main lens is just better.