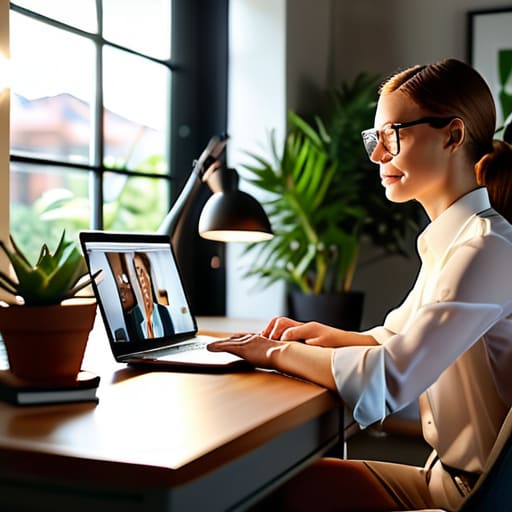
I spent three years thinking I needed a $300 ring light and a professional-grade DSLR to stop looking like a grainy, washed-out ghost during my weekly sprint reviews. I fell for the hype, thinking that “professionalism” meant building a studio in my spare bedroom, when in reality, I was just adding more clutter to a desk that was already drowning in cables. Most of the advice you see online about how to look better on video calls is designed to sell you hardware you don’t need; you don’t need a cinematic setup, you just need to stop fighting your environment.
I’m not here to give you a shopping list of expensive gadgets or tell you to buy a dedicated studio lamp. Instead, I want to show you how to audit your current space and make a few small, logical adjustments that actually work. We’re going to focus on the low-effort, high-impact tweaks—things like light positioning and camera angles—that turn a chaotic, shadowy mess into a clean, professional presence. My goal isn’t to make you look like a YouTuber; it’s to help you eliminate the visual friction so you can just get on with your day.
Table of Contents
Small Tweaks for Improving Webcam Video Quality
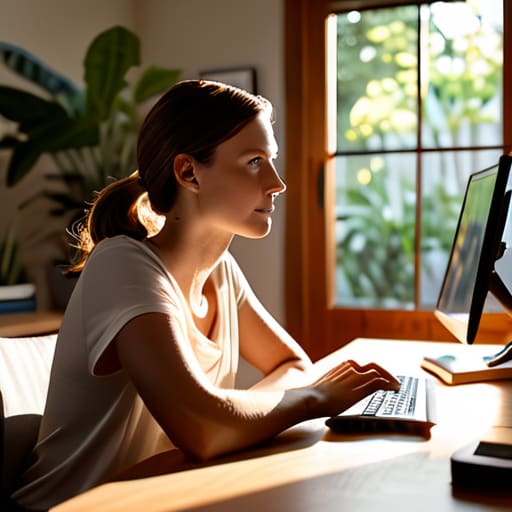
First, let’s talk about light. You don’t need to go out and buy a professional video call lighting setup or a ring light that looks like a prop from a sci-fi movie. Most of the time, you just need to stop sitting with a bright window directly behind you, which turns you into a dark, grainy silhouette. Instead, face the window or move a desk lamp behind your monitor so the light hits your face directly. It’s a tiny shift, but improving webcam video quality usually starts with just making sure you aren’t fighting against your own shadows.
Next, fix your line of sight. I spent way too long in my early twenties looking like I was staring up at a giant from a low-angle perspective because my laptop was sitting flat on my desk. It’s an unflattering angle that screams “unorganized.” Grab a stack of old hardcovers or a dedicated laptop stand to get the lens at eye level. Finding the best camera angles for remote meetings is really just about ensuring you aren’t looking down at your colleagues. It makes you look more engaged and, frankly, much more composed.
Finding the Best Camera Angles for Remote Meetings
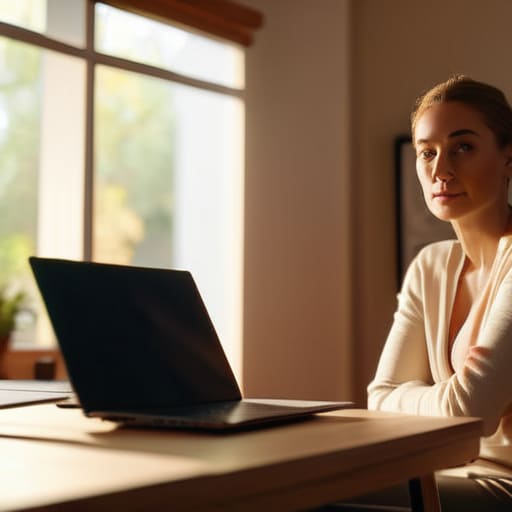
Once you’ve sorted out your lighting, the next hurdle is the angle. Most people default to the “laptop on the desk” position, which is a mistake. It forces you to look down into the lens, creating that unflattering chin-heavy view that makes you look like you’re perpetually judging your coworkers. To find the best camera angles for remote meetings, you need to get that lens at eye level. If you’re on a laptop, grab a stack of old textbooks or a dedicated laptop riser. You want the camera to meet your gaze directly, not look up your nostrils.
It’s also about how much of your environment we’re seeing. I’ve found that tilting the camera slightly downward—rather than upward—helps frame your face and shoulders more naturally, which goes a long way in maintaining a remote work professional appearance. You aren’t trying to film a cinematic masterpiece here; you’re just trying to avoid looking like a hostage in a basement. Keep the tilt subtle. If you go too high, you look like a child in a school portrait; too low, and you’re back to the “chin-first” problem. Just aim for that sweet spot where you feel like you’re actually sitting across a table from someone.
The Final Layer: Audio and Environment
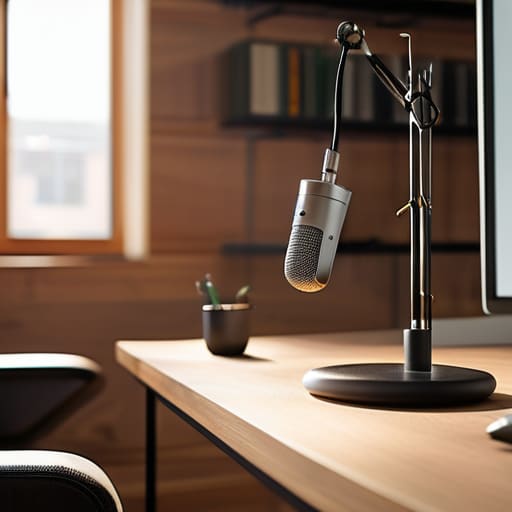
- Stop using your laptop’s built-in mic. It picks up every click of your mechanical keyboard and the hum of your AC. Grab a decent pair of earbuds or a dedicated USB mic; if you sound like you’re underwater, people stop listening to your ideas.
- Check your background for “visual noise.” You don’t need a professional studio, but a pile of laundry or a cluttered bookshelf behind you is a distraction. Aim for a clean corner or a simple wall so the focus stays on your face, not your mess.
- Use the “Eye Contact Illusion.” It feels weird, but try to position your window or your main light source so it’s near the camera lens. If you’re constantly looking at the people on your screen, it looks like you’re staring at your own chin.
- Manage your digital clutter. If you’re sharing your screen, close those twenty tabs you have open and hide your desktop icons. There is nothing more unprofessional than a client seeing your “Tax Prep 2022” folder or a messy desktop during a presentation.
- Don’t forget the “Mute Habit.” Get into the rhythm of hitting that mute button the second you stop talking. It prevents those awkward, accidental outbursts of heavy breathing or background noise that break the flow of a good meeting.
## The Philosophy of the Setup
“You don’t need a professional studio or a thousand-dollar lens to look competent; you just need to stop fighting your environment and start making small, intentional adjustments to the light and the angle.”
Nathaniel 'Nate' Brooks
Stop Overthinking the Setup

At the end of the day, looking good on camera isn’t about buying a $300 ring light or owning a professional-grade DSLR. It really comes down to a few fundamental adjustments: getting your lighting right so you aren’t a shadowy silhouette, finding an angle that doesn’t make you look like you’re staring down from a mountain, and ensuring your background isn’t a chaotic mess of laundry and cables. If you can nail the lighting and the lens height, you’ve already won 90% of the battle. These are small, low-effort systems that yield high returns, allowing you to stop worrying about your reflection and start focusing on the actual conversation.
My philosophy has always been that we shouldn’t let the tools get in the way of the task. You don’t need a studio-quality broadcast to be effective; you just need to eliminate the visual friction that distracts people from what you’re saying. Once you’ve dialed in these basic tweaks, let the tech fade into the background. The goal isn’t to look like a polished influencer—it’s to look like a capable, composed professional who has their life under control. Now, go close those unnecessary tabs, check your light, and get back to the work that actually matters.
Frequently Asked Questions
What if my room is naturally dark and I don't want to buy a professional ring light?
Look, I get it. You don’t need a $100 ring light cluttering up your desk. If your room is a cave, stop fighting the shadows and just repurpose what you have. Grab a desk lamp, take the shade off if you can, and aim it at the wall behind your monitor rather than directly at your face. It bounces the light back more softly, kills the harsh glare, and makes you look way less like a grainy silhouette.
How much of a difference does a decent microphone actually make compared to just using my laptop's built-in one?
It makes a massive difference. Honestly, people will forgive a grainy video, but they’ll tune out immediately if your audio sounds like you’re broadcasting from inside a tin can. Laptop mics are notorious for picking up every hum from your AC and making your voice sound thin and hollow. A decent USB mic or even a solid pair of headphones gives you that warmth and clarity that actually makes people want to listen.
Is there a way to hide a messy background without having to do a full deep clean every single morning?
Look, I get it. Some mornings, the “deep clean” isn’t happening. If your room looks like a disaster zone, don’t waste energy fighting it. Just use a subtle blur effect—most platforms have it built-in, and it looks more natural than those fake tropical beach backgrounds. If you want to go a step further, invest in a cheap, neutral folding screen. You can just pop it up behind your chair, hide the chaos, and get back to work.
Should I be worried about using virtual backgrounds, or do they just make me look like a floating head?
Look, I get it. Virtual backgrounds can feel a bit “uncanny valley” if they aren’t dialed in. If you’re sitting in a messy room or a distracting environment, use one—it’s better to have a clean digital office than a pile of laundry in the frame. But if you want to avoid the “floating head” effect, stick to a subtle blur instead. It keeps the focus on you without the glitchy edges.